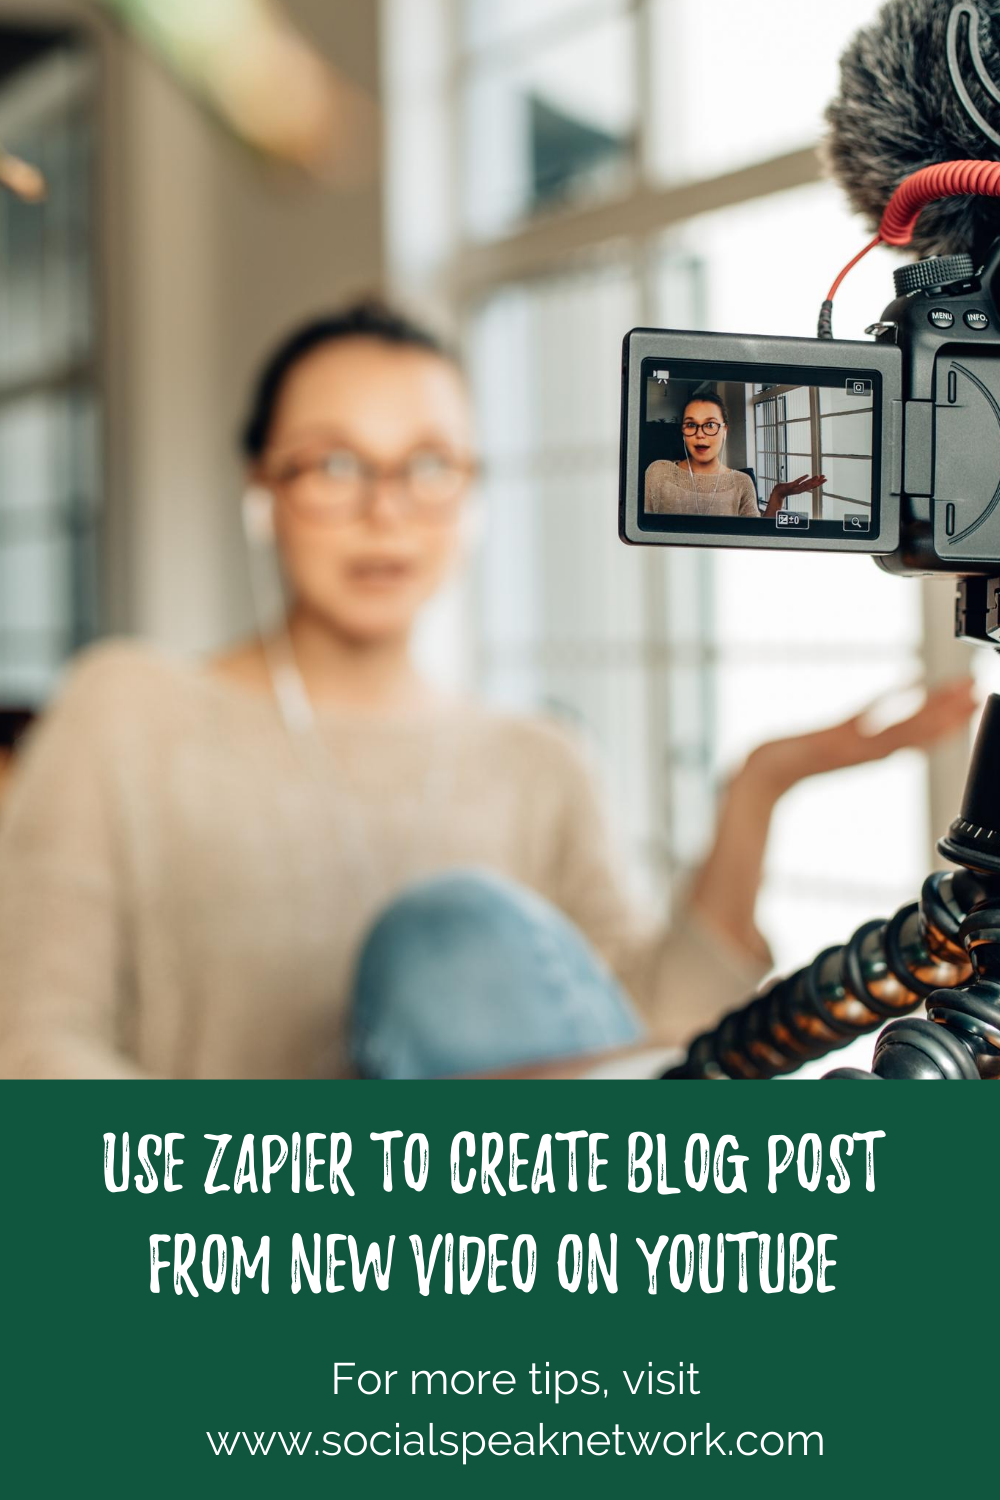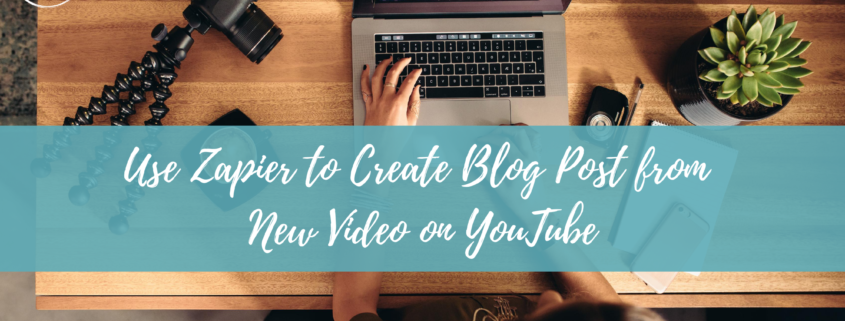
Today’s blog discusses the quick, easy, and simple processes that we use in order to repurpose the videos that you’re creating for social media. We’ve been discussing how important it is for your medical practice, your wellness center, to be doing videos as a way to stand out online and really create that personal relationship with your target audience and with those prospective patients. However, we then take the video and we recommend utilizing it in a lot of different ways.
One such way is by taking the transcript and turning it into a blog post. So this requires you to upload the video to YouTube, get the embed code, paste the embed code into a blog post, then create the description, put that into the blog post, and then grab the transcript of this after you upload it to a place like Scribie, for example, and put that into the blog post as well.
To simplify this process, we utilize Zapier.
What is Zapier?
Zapier is a communication tool between YouTube and your blog. And we use it for a lot of other systems and processes as well, where if you have something repetitive that you’re always doing over and over again.
There are hundreds of other platforms like it, can connect those two items that you’re just copying and pasting and make it, so it’s a really easy flow from one to the other.
How to use Zapier
So let’s jump in, and I will share my screen. So what we’re going to see first here is Zapier. I already have the dashboard set up.
Make a zap
Start by clicking, “Make a Zap.” Every video that we create, we wanna make sure that we’re sharing it to social media. So on our backend, every single video that gets uploaded to YouTube then also gets posted to our Basecamp work. But I do not have it set up where it also creates the video blog post.
So what we’re going do is YouTube, and you can always search for that as well. And I’m going to click, “A New Video to a Channel.” And then we can click, “Continue.” And so we already have our YouTube account hooked up here, but if we didn’t, then we would go through the process of linking it up.
Log in on your account
Now, for Zapier as well as any other time that you’re linking two different pieces of software online, I just recommend logging into those accounts beforehand, making sure you’re in the right account, and then going through the process of trying to sync that. One of the reasons why I do that is because you might be in your personal account rather than the company account, for example, and you don’t wanna link up your personal stuff with the company stuff. You might as well just make sure from the very beginning.
Get the channel ID
So here, we need to get the channel ID. You could also do, “Upload a Video to a Username.” However, sometimes it’s difficult to figure out what the username is, but the channel ID is very simple to find.
So I am going to just click this button right here. So I already clicked to upload a video, but the channel ID is just this next one after this channels here. Oops. We’ll click, “Continue.” And then I always recommend testing this trigger, so fingers crossed it worked. Awesome. So our last video that we did is, “Five Content Marketing Ideas for Healthcare Practices.” This was our blog post last week. And look at this, it pulls in the description, when it was published as well as the thumbnails. So that is really cool that it also does the thumbnails because we’re going to be using that for our featured image down the road here. Okay. So what we have is, when this happens, so when a new video is uploaded to the channel on YouTube, we do this.
And so here we want to do WordPress, and we want to create a post. Okay, we’ll click, “Continue,” and we want the WordPress that we already have connected. But, again, you’d wanna make sure you’re logged in here, and it will just prompt you through the steps, so making sure that you have access and you’re giving Zapier the access to that account.
Create a post
So what I wanna do is create a post. However, you could also do pages, media, forums, etcetera, products, pop-ups, whatever you have there. We wanna do a post for this part. The title is the title of the video. And you could also do… If you want to, you could put video in the title there or you could put “From the Wellness video channel” or something. I don’t know, whatever you want to put there. I’m just going to put the title just to keep it simple. The featured media. So here, we might have to play around with it just a little bit to make sure that we get that image there. And it looks as though… There we go. So instead of doing the featured media, what we wanna do is this custom one, and so this will actually pull in that featured image, the thumbnail image, that you had selected when you upload the YouTube video. So I believe I want to do the default URL. Let’s see.
Width and height
I’m going to do the high one, max res. Let’s do this one. Basically, what I was looking at here is the default width and everything, and so the max res is going to be the biggest option that we can do.
Content
So here we just click the description and it will automatically put that description in there. Now, you could add more content in here if you want. For example, you could have, “In this new video we discussed five content marketing ideas for healthcare practices.”
And then you could have the title, period. And then we’d want to have the description here. You know what? I’m going to make this at H3, so you can add some of that SEO stuff in here already, just as HTML. Okay. And so it says “uses WordPress text editor, supports HTML.” So here, I added that little header tag as well as the paragraphs there. Status, so we want the status to be a draft, you could have it be published immediately, but I always recommend just double-checking to make sure that all the settings are correct.
The excerpt
It’s up to you if you utilize excerpts on places on your site. I’m going to leave this blank. Most websites do have this just be a blank field and Google then would, if it needs an excerpt from something it’ll just grab the content. Post date, what we want to do here is the date, the publish date. Okay. Post format, typically, we wanna keep this just as standard, potentially your blog has different formats there, and then the post name we use the title. Okay.
Comment status
I’m going to do closed. Typically for wellness websites and healthcare websites, we do want that to be turned off. However, if you are an influencer or something like that, keep it turned on. We don’t want it sticky. And then we can also do some tags, so for the tags, I’m just going to do… Oops, I forgot the category. So you can have the category as well, I would recommend having something with video. Let’s see. There we go. Oops, it didn’t actually… Yeah. That would be fine. Let’s save. So I’m just going to keep this one tag, we have the category selected here, you could have a different category as well, video blogs or something like that would be good, or just use the base category that you have.
Preview
And again, this is just so that you have fewer items to fill in as you’re reviewing the blog post. So we’re going to do “Test and Continue.” And we created a post. So let’s go in here and check out our post, so that you can see what it looks like. Okay. And if you take a look here, we have this post right here, so we’re going to just click to preview, and as you can see, we have “In this new video about healthcare marketing, we discussed five content marketing ideas for healthcare practices.”
Embed the video
And then it says, b, the content from the description, and you know what we forgot to do? We forgot to embed the video. So this is why you always do the test. So let’s jump on back up here and we’re going to customize the post. And so let’s put in that embed code, and what we’re going to do is, this is the embed URL, and so then you just need to put that into the correct script. So I’ll make sure to post that script down here in just one moment.
Okay, so how the embed information works from YouTube, is there is a standard information that you can even just get when you are on YouTube and you click to embed something. Again, this is just setting it up one time and then it’ll continually do it correctly. But what we wanna do here is I pasted in that information, and I want to write in this SRC, quotations, I wanna put in the correct information there. So here I’m grabbing the embed URL, and I’m just pasting it in there, or clicking so that it goes in there. So let’s just double-check to make sure that this works correctly. And I’m going to re-test. Save, we’ll go back to the posts. I might have to delete that post just to make sure that it… Yeah. Have to delete that post. Trash. Okay. Re-test.
And so an easy way to get that embed code… Again, I’ll paste it down below, sometimes those quotation marks they’ll copy and paste incorrectly just from YouTube. Click “Share.” And so we grab this embedded code.
<iframe width=”560″ height=”315″ src=”Enter Embed URL from Zapier Here” frameborder=”0″ allow=”accelerometer; autoplay; encrypted-media; gyroscope; picture-in-picture” allowfullscreen></iframe>
So you can do this on any video that pops up. It doesn’t have to be yours. Copy this information right here. And again, this SRC Embed right here, this URL is that embed URL that Zapier will be able to provide for you. So that’s how I recommend getting it, I’ll just copy this just so that I can put it in our YouTube description, and then you’ll be good to go.
Final thoughts
So this is really the process that we utilize as a way to make it easier to manage all that content that you’re creating. We’re telling you to create these videos, so what’s the easiest way that’s going to save time and save money to get those videos from YouTube and then into the blog post, because you want this content to live on your blog as a way to really get the most out of it. And make sure that you have that SEO benefit as well as the ability to share it more easily to your newsletter or to an email or something like that. To get people back to the website so that hopefully they’ll end up requesting a consultation.
So if this was confusing to follow at all, please don’t hesitate to reach out, put a comment down below, it was kind of one of our more technical topics. However, Zapier does do a fantastic job, really just making sure that the steps are pretty easy to implement. If it’s your first time going into Zapier and setting up an account, it might look a little confusing. Just click that “Make a Zap” button, search for what you wanna do and you’ll be able to set it up.
Of course, we’re more than happy to schedule a consultation as well. In this call, we’ll see if we’ll be able to be a good fit for your team in order to help you with all of your digital marketing efforts.
If you’ve liked this video, please subscribe, also please check out our podcast over on Podbean and iTunes, and don’t forget to head on over to socialspeaknetwork.com.